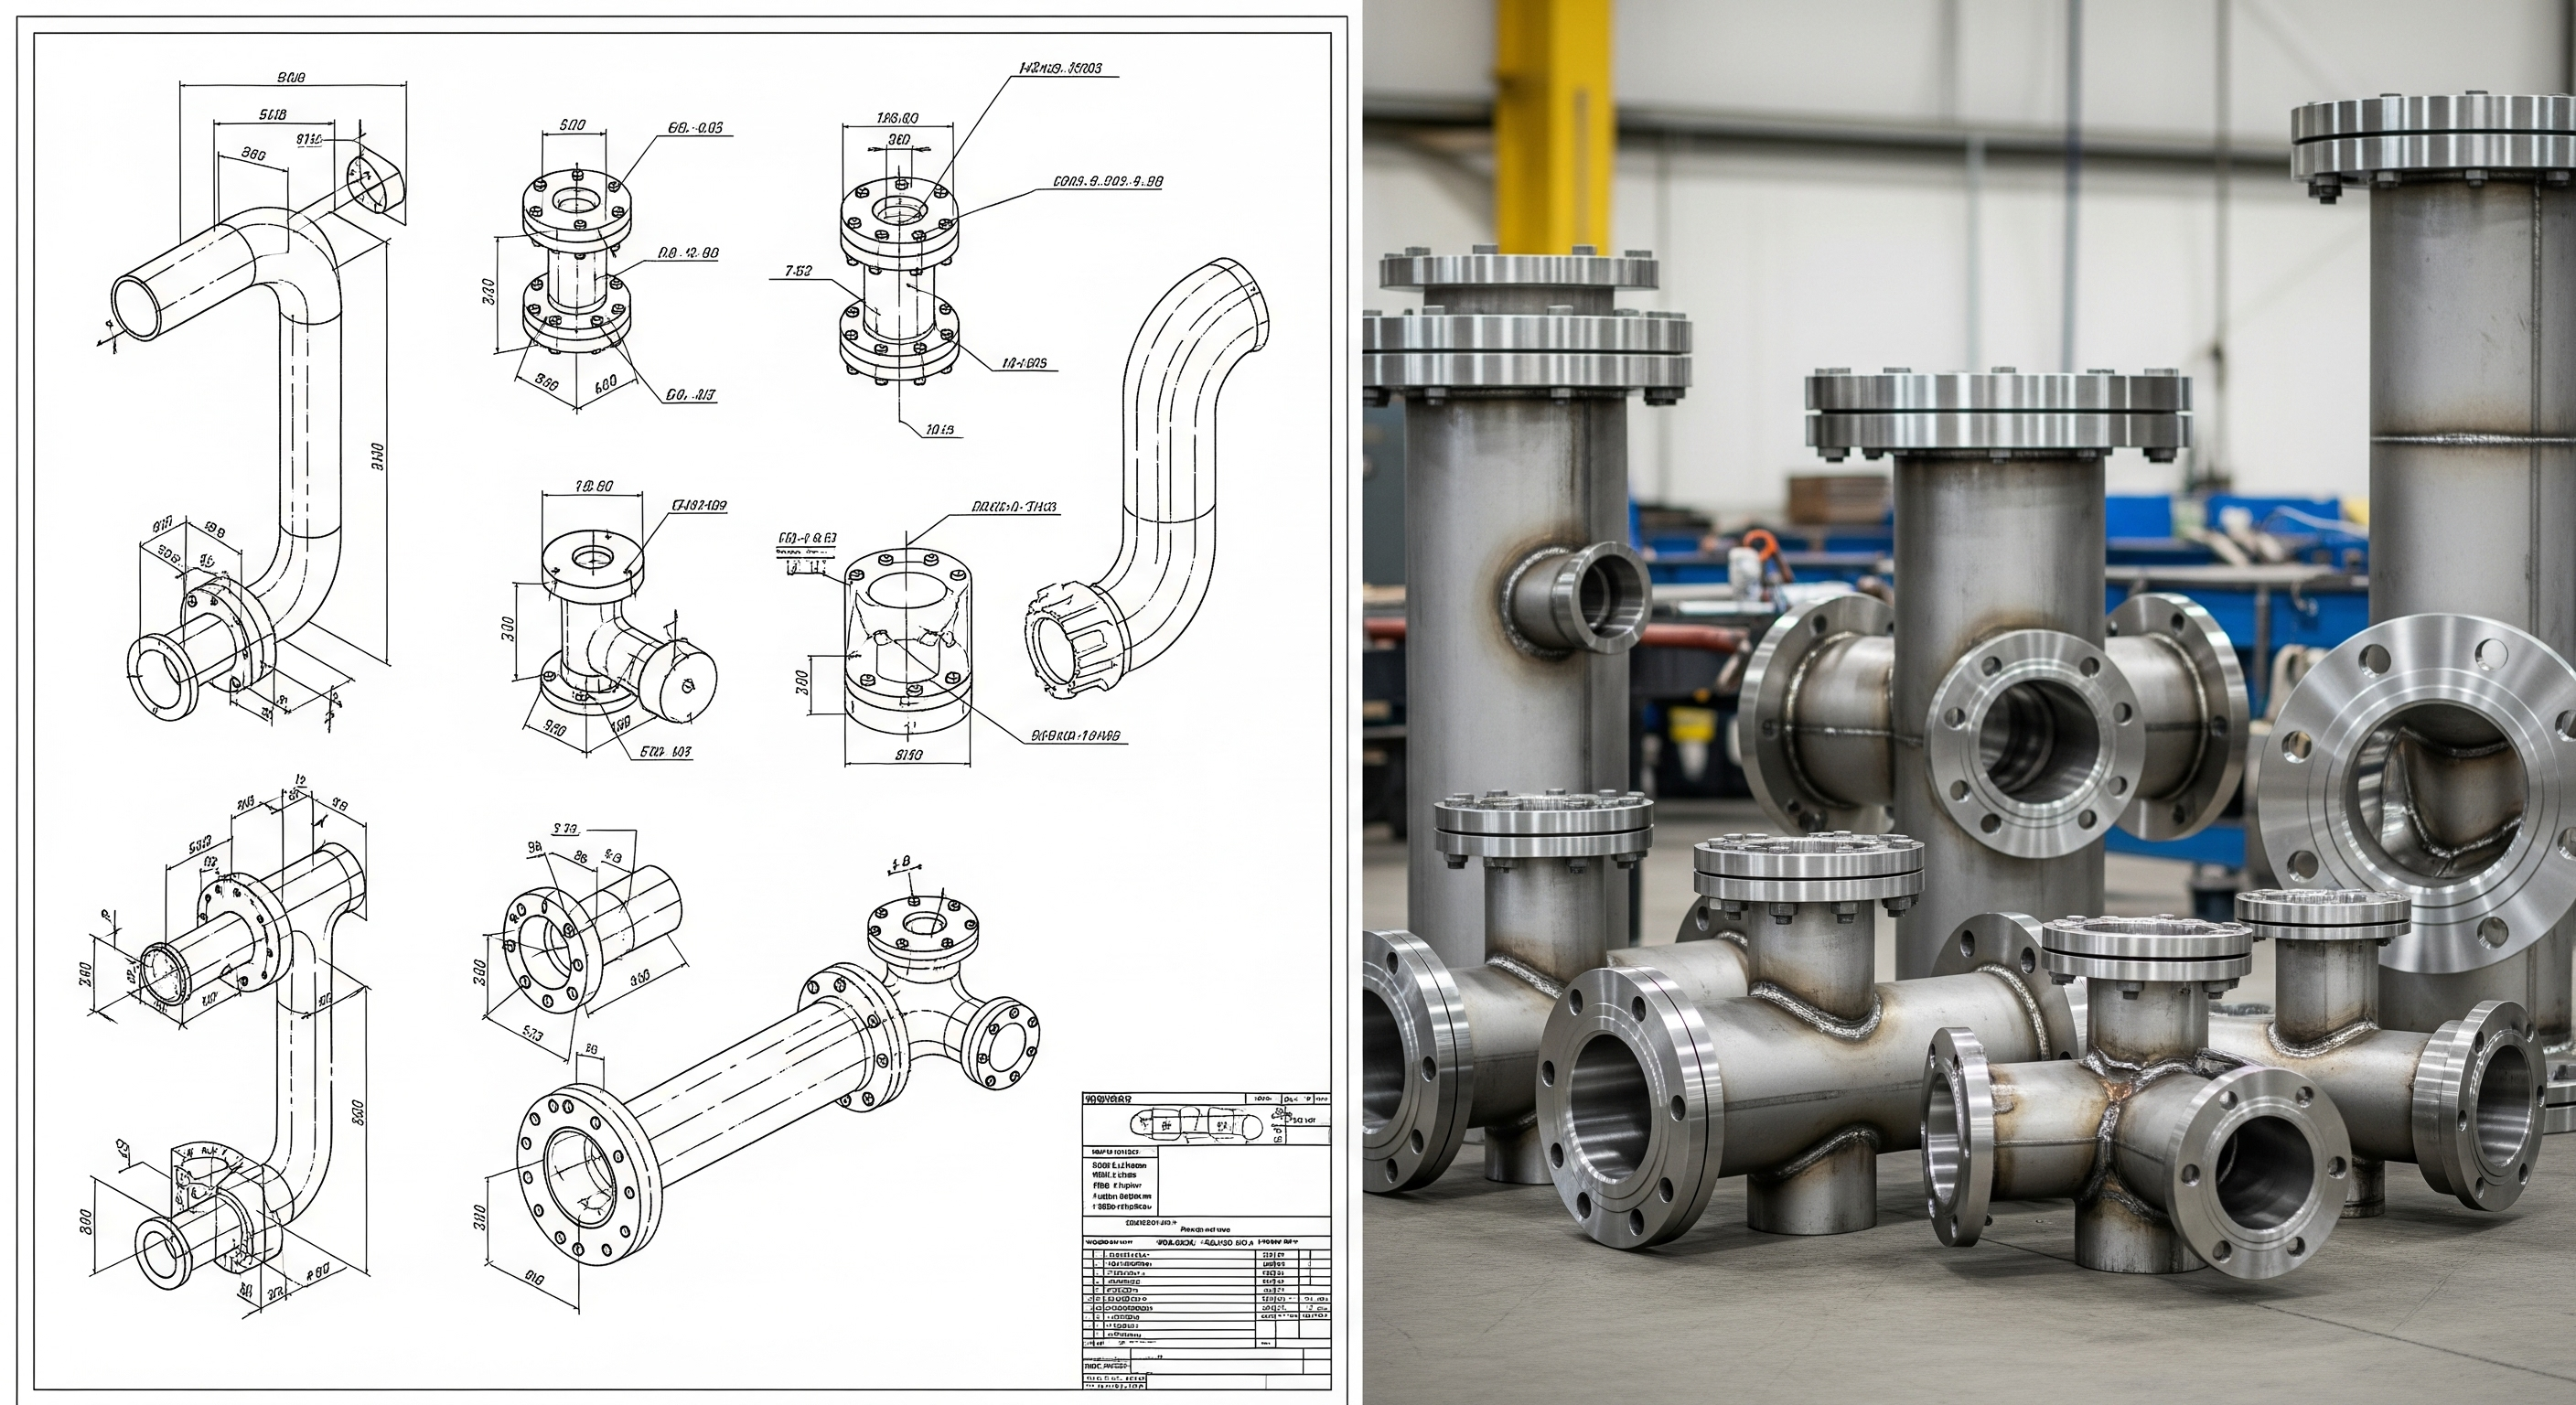
In construction, great coordination means nothing if it doesn’t reach the shop floor cleanly. The truth is simple: projects win or lose on the handoff from coordinated shop drawings to fabrication spools. When that handoff is tight, you get predictable lead times, fewer site surprises, and installs that fly. When it’s loose, you get rework, delays, and cost creep.
This guide lays out a practical, BIM-first workflow that turns coordinated shop drawings into buildable spool drawings and then closes the loop back to the model and the field. We’ll cover responsibilities, data standards, tradeoffs, and the KPIs that keep your prefabrication program on track.
Shop vs. Spool: What’s the Difference?
- Shop drawings translate the coordinated model into contract-compliant, dimensioned documents by trade (plumbing, HVAC, fire protection, electrical, steel). They capture sizes, elevations, clearances, supports, valves, and equipment connections.
- Spool drawings package the shop intent into fabrication-ready segments; cut lengths, fittings, welds/joints, valves, hanger points, and labeling so the shop can build, kit, and ship assemblies that drop into place onsite.
The End-to-End Playbook (BIM → Shops → Spools → Field → As-Builts)
1) Start with a BIM Execution Plan that anticipates fabrication
Before anyone draws a line, define how the model will feed fabrication:
- LOD targets (e.g., LOD 350 for coordination, LOD 400 for fabrication).
- Parameter schema for part numbers, service codes, material, insulation, and Bill of Material (BOM) roll-ups.
- Naming conventions for systems, zones, risers, and spools.
- File exchange rules (Revit Fabrication Parts vs. native Revit families, IFC/BCF use, CADmep exports).
- Approval gates for shop and spool releases.
A disciplined BIM modeling service can help set these rules so your model becomes a dependable manufacturing dataset, not just a pretty 3D picture.
2) Coordinate with intent not just for clash scores
Run targeted 3D clash services focused on constructability:
- Gravity-driven systems (sanitary, storm) modeled with real slopes from day one.
- Service clearances around PRVs, pumps, coils, and panels.
- Sleeve and penetration strategies that match structural sequencing.
- Hanger zones, seismic bracing logic, and access for maintenance.
Good coordination reduces later spooling changes. Aim for decision-ready clash reports: each clash has an owner, a due date, and a resolved/approved status.
3) Produce shop drawings that the AHJ and the shop both trust
Anchor your shops in the coordinated model:
- Dimension to reality: centerline and top-of-pipe elevations, invert elevations, flange-to-flange lengths, and equipment datum points.
- Schedules and legends: valves, dampers, supports, insulation, identification standards.
- Section cuts and details: sleeves, firestopping, trap primers, roof penetrations, expansion loops.
4) Convert shops into spools the shop can build fast
Now you’re packaging by logical assembly:
- Break points: keep pieces liftable, shippable, and weldable; respect jointing methods (grooved, welded, soldered, press-fit, threaded).
- Hanger integration: identify hanger points and embed coordinates and elevation.
- BOM per spool: count fittings, cut lengths, valves, gaskets, insulation, labels.
- Barcodes/QRs: tag each spool with ID, service, area/zone, and install sequence.
- Kitting & sequencing: align spools to the look-ahead schedule so field crews receive exactly what they can install this week.
When spooling from Revit, decide early whether you’ll use Revit Fabrication Parts or detail with families and export to a fabrication platform. Either way, keep parameters consistent so schedules and cut sheets stay reliable.
5) Fabricate, ship, install—then close the loop
- Shop QA/QC: verify dimensions, joint counts, and labeling before shipping.
- Field install feedback: scan deviations, mark field welds, and capture as-installed elevations.
- Record model & as-builts: push approved changes back into the model, regenerate schedules, and deliver turned-over as-built drawings that actually match reality.
Data, Not Just Drawings: What to Track in Your Model
If you want the shop to trust your digital handoff, your model must carry manufacturing-grade data:
- Part number / item code (matches ERP/MRP).
- Service code & zone (e.g., HVAC-S1, PLBG-Riser-A).
- Material & join type (CS welded, Cu press-fit, PVC solvent).
- Insulation spec (type, thickness).
- Spool ID (unique key, barcode-friendly).
- BOM fields (quantity, unit, weight).
- Install sequence (phase, level, grid, area).
With these parameters in place, the model can auto-generate Bills of Material per spool, per level, and per zone, fueling procurement, shop cutting lists, and site kitting.
Responsibilities: Who Does What?
- Design Engineers: performance criteria, code compliance, and stamped intent.
- Trade Detailers: coordination modeling, dimensioned shops, hanger layouts, and spool logic.
- BIM Coordinator: clash rules, model health, file governance, and issue closure.
- Fabrication Manager: cut lists, material availability, shop routing, and QA/QC.
- Field Foreman: install sequence, field adjustments, redlines, and as-built verification.
- Project Controls: track prefab %, install rates, RFI trends, and cost vs. plan.
When each role owns clear deliverables and dates, the shop sees a steady, predictable flow of work.
Tradeoffs You’ll Need to Balance
- LOD vs. model performance
More detail improves spool accuracy but can slow large federations. Use detail where it pays (valve stations, equipment skids) and stay symbolic elsewhere. - Early spooling vs. design agility
Spooling too soon risks rework if design shifts. Time spooling after major coordination gates and procurement decisions. - Single-trade vs. multi-trade spools
Multi-trade racks (e.g., MEP racks) speed installation but raise coordination complexity. Use them in repetitive corridors and long runs with stable geometry. - Standardization vs. project customization
Standard spool libraries accelerate output, but unique projects demand tweaks. Lock shop standards; vary only where the project truly benefits. - First cost vs. lifecycle value
Cheaper materials/joints can drive higher leak risk or maintenance costs. Weigh capex against downtime and serviceability.
Quality Controls That Prevent Rework
- Model health: purge unused content, resolve warnings, enforce naming, and keep links clean.
- Dimensional checks: verify center-to-center and face-to-face dimensions on valves and equipment; confirm slopes and minimum fall for gravity systems.
- Support/hanger logic: coordinate hanger type, spacing, and structure attachment; include seismic bracing where required.
- Penetration governance: sleeve diameters, firestopping, and embed coordination with structure.
- Revision hygiene: cloud and tag changes; maintain issue logs that align model state with shop releases.
Metrics That Matter (Make Them Visible Weekly)
- % Prefabrication by trade and zone.
- Install rate (spools/day or linear feet/day) vs. plan.
- Clash closure rate and aging clashes.
- RFI count & turnaround related to shops/spools.
- Spool rework rate (shop and field).
- On-time delivery from fabrication to site.
Dashboards create accountability and help you course-correct before a small delay becomes a critical-path problem.
Tools & Automations Worth the Effort
- Rule-based spooling from modeled assemblies to consistent spool IDs.
- Automated BOMs per spool/zone using model parameters and filters.
- Barcode/QR workflows linking spool IDs to digital cut sheets, isometrics, and install notes on tablets.
- 4D tie-in so spools appear in the model timeline as look-ahead tasks, aligning shop output with field needs.
- Export maps that maintain layer, lineweight, and text standards for any remaining CAD drafting services workflows.
None of this requires “moonshot” tech. It requires a clean data backbone and the discipline to use it the same way every time.
Bringing It All Together
Closing the loop from shop drawings to spools is how coordinated models become real buildings without chaos. Start with a BEP that anticipates fabrication, coordinate for constructability (not vanity clash scores), produce shops that read like instructions, and package spools that shops can build and crews can install in sequence. Then, finish the job: capture field deviations, push them back into the model, and deliver accurate as-built drawings that support operations.
If you want this workflow on your next project, bring in a partner experienced in BIM-driven fabrication, one that can unify coordination, shops, spools, BOMs, and turnover into a single, reliable pipeline. That’s how you protect schedule, reduce rework, and turn prefabrication into a competitive advantage every time.
